


Canon is an Japanese MNC renowned for its top-quality of cameras, scanners and printers, as well as semiconductor equipment, etc. Canon has proven itself to be an established brand when it comes to printers. One printer that has become popular with the general public can be that of the Canon IP110 printer. Canon IP110 Wireless Setup will enable you to utilize this amazing device.
Quick steps to set up Canon IP110 wireless
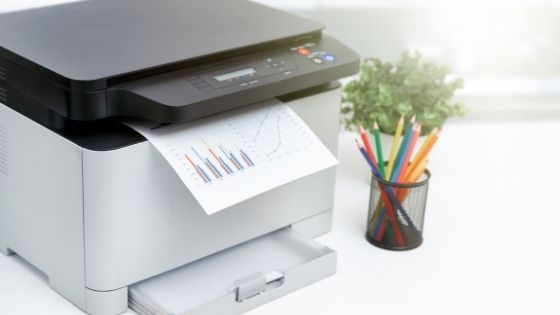
1. Canon IP110 Initialization and Unboxing
- Canon offers plenty of packing materials that are safe, so the first thing to do is getting rid of all packing material as well as tapes and packing materials from your printer.
- Place your printer in an uncluttered and secure location and in an area that has sufficient Wi-Fi.
- Connect the power cord by connecting it with the wall outlet.
- Insert the cartridges into the proper position, and an untampered, clean sheet of paper. Run a sample print.
- Once the steps have been completed then the next step is then the Canon IP110 Driver Installation. The drivers are available via the official website of Canon.
Step 2: Canon IP110 Driver Installation
Installation as well as the wireless configuration Canon Ip110 Printer driver an essential step. You can either download the driver using the CD you received together with your printer. It is as simple as double-clicking onto MSETUP4.EXE and follow the next directions.
Get Instant Help for any Issue Canon ip110 troubleshooting
If you’re installing the driver via Canon’s website, click here. Canon web site just go onto the Canon IP110 driver installation page. Double-tap the driver. Once the driver has been installed on your computer then open it and follow the directions as described.
Step 3. Connect the Canon IP110 Printer to Your Operating System
- As the driver is installed, be sure that you pick the wireless network connection method to connect and then click Next.
- Select the Access Point Network and then tap Next.
- Check that you’ve got the printer is on and then click Next.
- If this is your first attempt, click” Setting Printer ” Setting printer could not be located on the menu” and then press Next.
- Follow the directions as they are provided.
- On the setup process select Cable less setup. Press and hold on the WIFI button in the printer till the LED flashes for 2 times.
- Continue pressing Next and then choose your location when you are asked.
- You must agree to the license. after that, exit.
The steps above are an extensive procedure to Canon’s wireless Setup. However, if you’re stuck on a particular step or have any other issue take a look help from Canon Printer assistance. If you need professional assistance, you can feel free to call our printer support number and we’ll ensure our representative will give you the most effective Canon support for your printer process.
When the waste ink container is full, an error message will appear when the printer is used, namely “Ink absorber full” with error code [5B00]. When this error occurs, the indicator light will flash yellow and orange, alternately 7 times. If this problem occurs, the printer is unusable and must be repaired immediately.
To correct the waste ink absorber full error, it is carried out in two stages. The first stage is to replace the ink absorber kit, after the ink absorber kit is replaced the next step is to reset the waste ink counter to zero. After the two stages of repair have been completed, the printer will return to normal and can be used again. Here is the repair process for the Canon Pixma iP110 printer error ink absorber full 5B00.